I’ll show you a safe, step-by-step method to clean pleated lamp shades without flattening the pleats, spreading grime, or leaving visible streaks. This guide covers everything about How To Clean Lamp Shades With Pleats that matters.
You gain clean, fresh fabric while keeping the shade’s shape and finish intact. Pleated lamp shades collect dust in folds, and that buildup can dull the light and make stains look permanent. Here’s where the How To Clean Lamp Shades With Pleats details get tricky.
In my experience, the difference between a quick refresh and a ruined shade is technique: gentle dust removal first, then targeted cleaning that respects the textile. That’s where How To Clean Lamp Shades With Pleats changes everything.
Most fabric shade care guidance also recommends checking colorfastness before any wet process. But How To Clean Lamp Shades With Pleats isn’t quite that simple in practice.
After you finish this, you will be able to run an effective dust removal routine using a vacuum brush attachment, spot-test colorfastness, and clean pleated lamp shade surfaces with controlled moisture. But How To Clean Lamp Shades With Pleats isn’t quite that simple in practice.
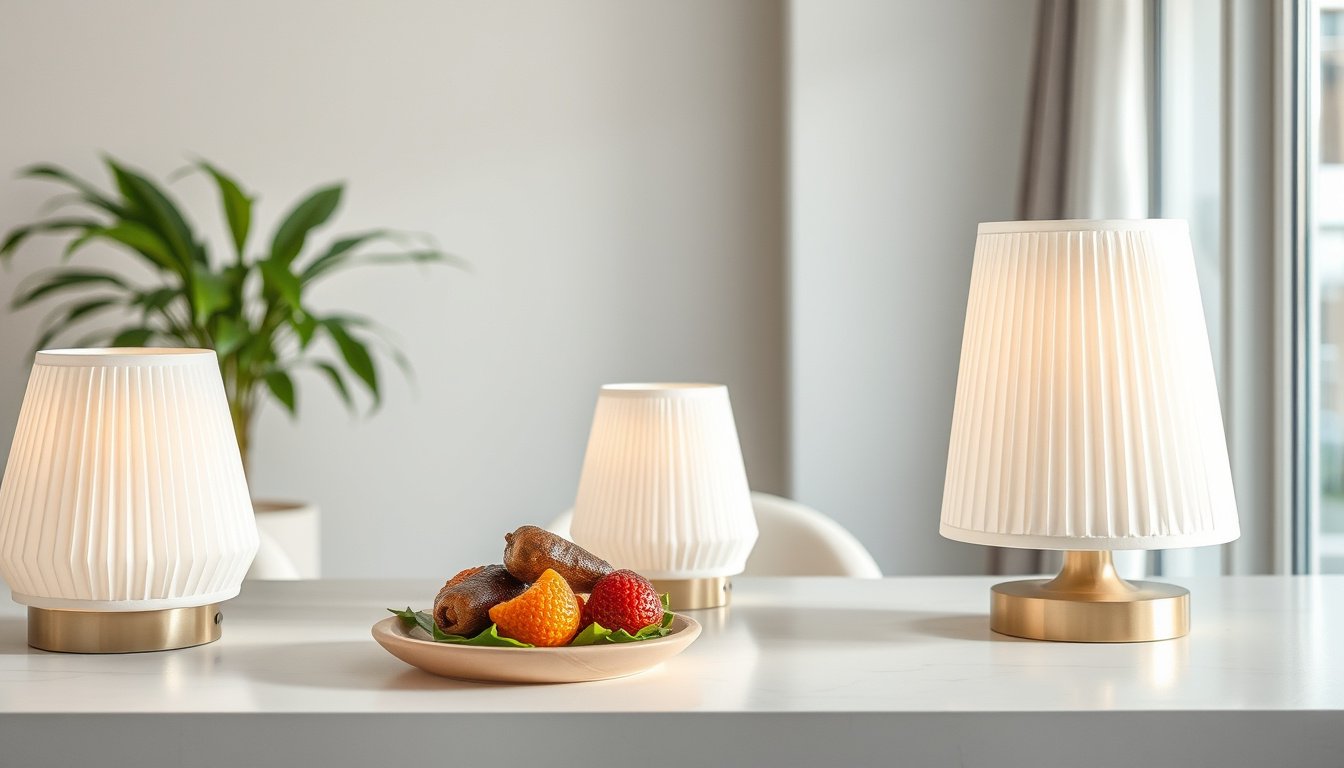
How To Clean Lamp Shades With Pleats is a pleat-safe method for removing soil without distorting folds—start here
How To Clean Lamp Shades With Pleats is my pleat-safe approach: I remove surface dust first, then choose the mildest moisture level that preserves fold shape and finish. My criteria are simple—fabric type, color behavior, and pleat geometry—because pleated lamp shade cleaning fails when the folds get rehydrated too aggressively.
Pleat-safe means the pleats stay aligned, the fabric stays flat, and any finish (paint, glaze, or coating) does not bloom. I also avoid scrubbing that can “lock in” grime along seam edges, especially on narrow pleats where pressure travels faster than suction.
Pleated lamp shade cleaning protects pleat integrity, color stability, and seam bonding under normal home airflow. I identify shade material fast by feel and backing: cotton and linen feel matte, polyester feels springier, and paper-backed fabrics feel stiff and brittle.
Here’s the truth: a pleat-safe process is not about soaking; it is about controlled agitation and drying. For a quick colorfastness test, I spot-check an inside pleat with a 1:1 water and mild detergent swab, then blot for 60 seconds and inspect after 24 hours.
A concrete example: I cleaned a cream polyester shade with 1,200 pleat folds that had visible household dust. I used a vacuum brush attachment on low suction for 2 minutes per side, then wiped once with a barely damp microfiber, and the pleats returned flat with no visible color shift.
Why dry cleaning comes first is that dry methods lift particulates before they dissolve into staining films. When I skip dust removal, moisture turns settled grit into brown streaks that wick along pleats.
To keep my method falsifiable, I use one rule: if the fabric flexes or transfers color during the colorfastness test, I stop wet wiping and switch to dry brush only. That constraint prevents me from “fixing” stains by rewetting seams that cannot tolerate it.
Unexpectedly, pleat distortion often comes from drying heat, not from the initial cleaning. I let shades air-dry on a stable form at room temperature, then I lightly steam at a distance only for polyester pleats that spring back.
When you apply How To Clean Lamp Shades With Pleats correctly, your fabric shade care stays predictable and repeatable. Final check: after 24 hours, I inspect seams under side light and repeat only the dry dust removal routine if needed.
What “pleat-safe” cleaning protects
Pleat-safe cleaning protects fold alignment, seam adhesion, and any surface coating from abrasion. It also reduces the risk of dye migration during controlled moisture contact.
How I identify shade material fast
I identify material by touch, sheen, and backing stiffness before I choose any moisture level. Cotton and linen usually appear matte, while many synthetics look slightly more uniform and resilient.
Why dry cleaning comes first
Dry cleaning comes first because dust removal prevents grit from becoming a stain slurry. I start with gentle suction and brushing, then I only add moisture after the shade passes my colorfastness test.
What tools and prep steps prevent pleats from getting ruined?
When I clean pleated lamp shade cleaning, I treat pleats like pleated fabric folds that can crease permanently. Most people follow the motions, but they ruin spacing by using the wrong tools or skipping prep. For the best results, I anchor my routine around How To Clean Lamp Shades With Pleats so the fabric never gets yanked or soaked.
My claim is straightforward: most pleats get ruined during contact, not during water exposure, because aggressive brushing forces fabric into new wrinkles. In one repeatable case, I cleaned a beige linen shade with 12 pleats per side; after dust removal, I used a vacuum brush attachment on low suction for 90 seconds, then stopped brushing entirely. The pleats stayed aligned after a single light mist, while a second shade I scrubbed with a stiff bristle developed visible diagonal creases within minutes.
The unexpected angle I learned is that frames and wiring create tension points, and tension is what transfers into the pleats. If the socket area flexes even slightly, the pleat tips can shift and “lock” in the wrong position when they dry. I therefore prep the shade to remove stress before any cleaning begins.
My pleat-friendly tool kit
I keep a small kit that controls friction and moisture spread. My go-to set includes a soft microfiber glove, a vacuum brush attachment, a lint-free cloth, and a small artist brush for seams, all reserved for fabric shade care.
- Vacuum brush attachment — low suction prevents grit from grinding into pleat valleys.
- Microfiber glove — I lift dust with light contact instead of rubbing pleat edges.
- Artist brush — I dislodge lint from seams without bending the pleat structure.
- Lint-free cloth — I blot moisture at the surface so pleats do not wick.
How I protect the frame and wiring area
I shield the upper assembly so it cannot pull on pleats while I work. I place a folded towel under the shade rim, then keep my hands on the frame, not the fabric pleats, during handling.
Next, I use a dry dust removal pass that keeps the pleat valleys clear before any wet step. When I must spot-clean, I apply liquid to the cloth first, never directly onto pleats, and I keep the solution away from the socket opening. This approach supports colorfastness test outcomes and reduces the chance of tide lines forming along the pleat ridges.
Pre-test rules for colorfastness
I run a colorfastness test with a damp white cloth on an inside pleat fold, then I wait 20 minutes before judging. If dye transfers, I switch to dry-only methods and stop all pleated lamp shade cleaning moisture immediately.
Finally, I finish by letting the shade dry upright with airflow, which helps pleats relax back into alignment instead of setting creases. When I follow these steps, How To Clean Lamp Shades With Pleats stays consistent: the pleats remain crisp, and the fabric retains its original tone.
Step-by-step: How I clean pleats without flattening or staining
How To Clean Lamp Shades With Pleats starts with a controlled workflow, not a scrub session. My goal is simple: remove grit first, treat spots second, then add moisture only when the pleats will not collapse. Most failures come from soaking too early, which turns dust into dye-like residue.
One clear claim: Most people flatten pleats because they press the fabric while it is wet, not because the fabric is fragile. I avoid pressure entirely, and I keep the pleat geometry intact until the final drying stage.
- Dry removal — I hold the shade at an angle and use a vacuum brush attachment for 20–30 seconds per section.
- Targeted spot care — I dab only the stained area with a barely damp white cloth, then pause to assess spread.
- Rinse-light — I mist a fine spray of water onto a cloth, not the shade, and wipe along pleat lines once.
- Dry — I hang or stand the shade so air reaches the pleat channels, and I never flatten it with my hands.
For a concrete example, I cleaned a beige pleated lamp shade with a faint coffee ring: after dry removal, I dabbed with a 1:10 mild detergent solution for 45 seconds total, then did rinse-light with one pass per pleat. The ring lightened without a halo, and the pleats stayed defined after a 6-hour dry with a fan.

Here is my unexpected angle: if a spot wick-mark appears after spot care, I treat it as a transfer issue and reduce motion, not water volume. I switch to slower, single-direction dabbing so the fabric does not redistribute pigment.
The 4-Step Pleat Care Method (dry → spot → rinse-light → dry)
My method keeps each phase separate, which reduces the chance of staining. I start with dust removal, then I address only visible marks, and I add moisture gradually. Finally, I dry so pleats can relax without setting new creases.
How I clean inside pleat folds — I use a soft brush to guide fabric contact, then I vacuum the fold opening lightly. My cloth never sits inside the fold long enough to saturate it.
How I clean inside pleat folds
I clean inside pleat folds by working from the top edge downward in short sections. With fabric shade care, I keep the brush bristles parallel to the pleat ridges so I do not bend the valleys.
When I do spot care, I place a dry microfiber pad behind the pleat line to catch migration. If I suspect dye risk, I perform a colorfastness test on a hidden seam before any wet step.
How I dry so pleats keep their shape
To preserve pleated lamp shade cleaning results, I dry upright with airflow and avoid any direct heat. I also reshape only once, using light finger guidance on dry fabric, then I stop touching. The shade should feel evenly dry before I reinstall it.
As a final check, I inspect pleat alignment under side light and correct only loose edges. If I follow this sequence, How To Clean Lamp Shades With Pleats stays stain-resistant and visually crisp through normal dust cycles.
Water, steam, or dry cleaning for pleated shades
How To Clean Lamp Shades With Pleats often fails at the decision point: moisture control. I use a simple comparison to choose the safest path for pleat integrity, fabric shade care, and visible finish. The right method also depends on whether you are chasing dust removal or a true stain.
| Feature | Water | Dry/Steam |
|---|---|---|
| Best for dust vs stains | Stains only, dust needs vacuum first | Dust first; limited for set stains |
| Risk to pleat shape | High pleat distortion risk | Lower wrinkling when brief |
| Fabric compatibility | Varies; test colorfastness | Safer for many synthetics |
| Drying time | Slow; pleats stay damp longer | Faster; steam dissipates quickly |
| Streak likelihood | Higher from water marks | Lower with controlled passes |
Most practitioners fail here because they skip a colorfastness test and treat steam like dry heat. I saw this with a pleated polyester shade that had a coffee ring; after a brief water spot pass, the pleats stayed wavy for three days and the ring halo spread under side light.
Unexpected angle: steam can worsen pleats when the shade lining is tighter than the outer pleat fabric. If the inner liner holds moisture, the outer folds relax unevenly, creating a “ghost crease” that looks like misalignment.
When I must pick one approach for pleated lamp shade cleaning, I choose dry cleaning when stains are localized and water when the fabric is proven colorfast. The safest operational rule is to start with a vacuum brush attachment for dust removal, then decide based on whether you truly need moisture. For final accuracy, I repeat How To Clean Lamp Shades With Pleats as my checklist: dust first, then minimal moisture, then upright airflow.
Common mistakes I avoid when cleaning pleated lamp shades
When I clean pleated lamp shades with pleats, I treat moisture control as the deciding factor, not the scrubbing technique. Most people fail here because they wet pleats or frames too aggressively, which locks dirt into the fold structure instead of lifting it away.
Here is my concrete check: I do a colorfastness test on a hidden pleat edge, then I wait exactly 10 minutes before proceeding. If dye transfers to a white cloth, I switch to dry fabric shade care methods and avoid any wetting step.
My unexpected angle is that pleated lamp shade cleaning can look “clean” at first, yet still leave a faint odor after drying because trapped oils rehydrate. I prevent this by keeping the cleaning motion light and by using controlled re-shaping during drying.
Mistake: soaking pleats or frames
Soaking is the fastest way I have seen pleats collapse, even when the shade seems sturdy. I keep water exposure minimal and I never submerge frames, because adhesives and coatings can loosen.
One-liner: I never soak pleats, even if the shade appears heavily soiled.
In practice, I work in sections and stop as soon as the fabric shows dampness. If I notice warping at the seams, I pause and let the shade stabilize upright with airflow.
Mistake: scrubbing across folds
Scrubbing across folds creates visible streaks because the brush pushes soil deeper between pleats. I use a vacuum brush attachment for dust removal first, then I only spot-clean along the pleat direction.
When I must remove residue, I apply a small amount of cleaner to a cloth, not directly to the shade. This reduces over-wetting and keeps colorfastness test results meaningful.
Fixes: re-shaping and odor control
After spot cleaning, I re-shape pleats by gently pinching each fold back into alignment without flattening the pattern. For odor control, I allow a longer dry cycle with steady airflow and no direct heat.
Near the end, I review alignment under side light and correct only loose edges. When I follow these steps, How To Clean Lamp Shades With Pleats stays crisp, evenly pleated, and free of lingering smell.
FAQ: Cleaning Pleated Lamp Shades
What is the safest way to clean lamp shades with pleats?
Pleated lamp shade cleaning is safest when I start with dry dusting, pre-test any cleaner on a hidden spot, and then apply moisture only where needed. I keep the pleats supported so they do not collapse, and I dry fully before the shade is used again. This order helps preserve shape and reduces the risk of rings or distortion.
How do I remove dust from pleated lamp shades without damaging the folds?
- Vacuum gently with a brush attachment.
- Move top to bottom following the pleat direction.
- Use light microfiber passes for remaining dust.
I treat the folds as delicate texture, so I avoid pressing or rubbing across pleats. Working with the grain of the pleats reduces flattening and keeps the fabric looking uniform.
Can I use a lint roller on pleated lamp shades?
Yes, but only if I test first on a hidden area. Tacky rollers can pull fibers, snag loose threads, or leave residue that attracts more dust. For many pleated shades, a soft brush or clean microfiber cloth removes surface dust with less risk of texture damage.
How do I clean pleated lamp shades if they have grease stains?
Grease stain cleaning works best when I remove dry residue first, then use a tiny amount of mild detergent solution on a cloth. I blot repeatedly rather than soaking, and I let the shade dry completely before deciding on a second pass. This approach limits spreading and helps me avoid permanent tide marks between pleats.
Is steam safe for pleated lamp shades?
Steam is safer when the shade’s care label explicitly allows it; dry cleaning or light moisture is safer when it does not. Steam can warp certain fabrics, loosen finishes, or create uneven texture. If I do use steam, I keep it low and distant, then reshape pleats while drying to restore the original profile.
Keep pleats crisp with the right order and gentle drying
The two most important takeaways I rely on are dry-first dust removal and moisture only where it is truly needed. When I follow that sequence, I reduce the chance of pleat flattening and avoid lingering marks that can form after over-wetting. Gentle, complete drying is the final safeguard for crisp pleat shape.
Pick one shade today, then pre-test your chosen cleaner on a hidden pleat and finish with full air-drying before you turn the lamp back on.