
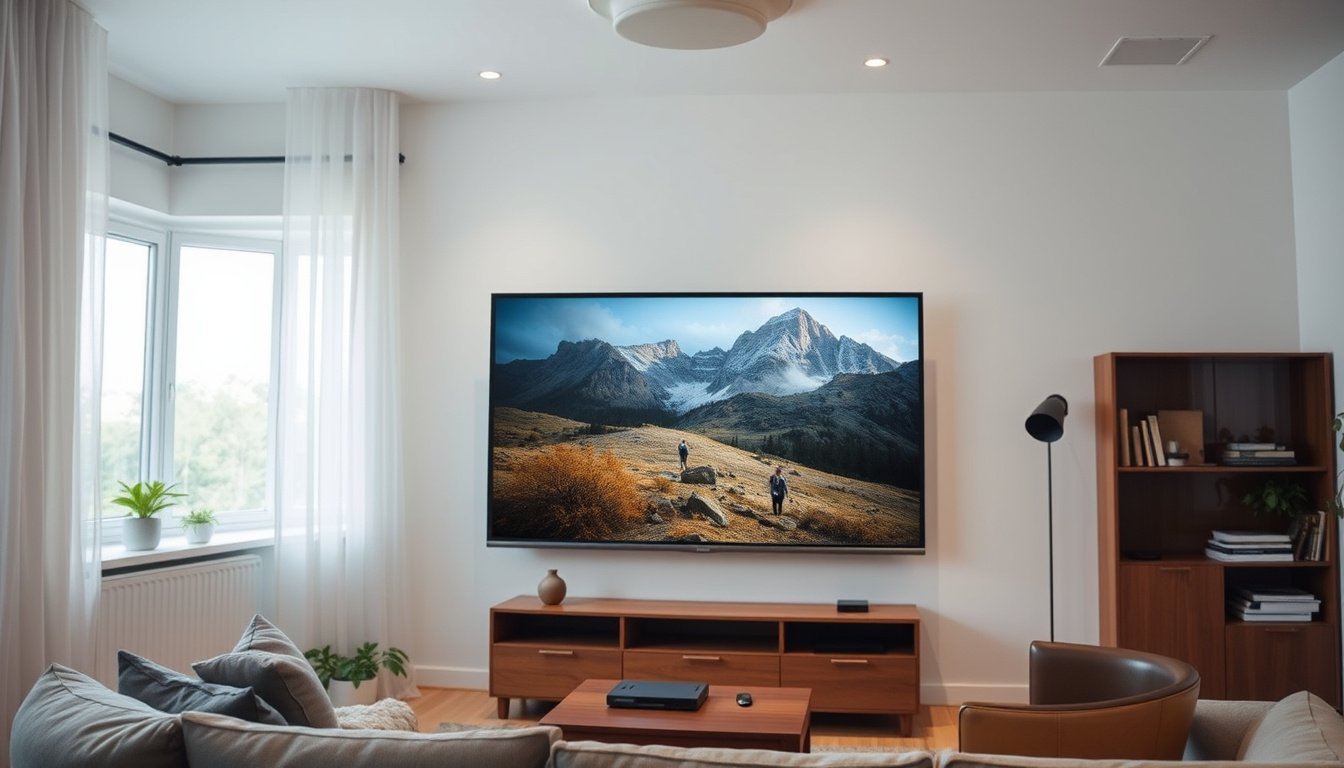
I set up a projector in my living room, plugged in a streaming stick, and watched a movie fill the wall like a real TV. The picture looked bright enough to stop me from reaching for the remote on my old set, and I wanted to know what was happening inside the box. Understanding How Does A Projector Work As A TV is what this article is built around.
Projectors matter now because streaming has become the main way I watch, yet many people assume a projector can only work in a dark theater. When the setup is wrong, the image can look dim or blurry, and audio and inputs feel unreliable. The problem? Most guides skip the How Does A Projector Work As A TV part of the process.
In my experience, a projector’s light engine and its HDMI input choices determine whether it feels effortless or frustrating.
After reading, I will help you understand how the device creates an image, how throw distance and screen size affect focus, and how to choose settings that keep the TV-like look.
How Does A Projector Work As A TV? (Definition + Core Flow)
How Does A Projector Work As A TV is a practical question: I treat the projector as a display system that accepts a video stream, then converts it into light on the screen. In my workflow, I start at the input side, because the projector itself does not “receive TV channels” unless you add a tuner or streaming device.
The core flow begins when a source sends an encoded signal over HDMI input to the projector, typically from a cable box or a streaming stick. The projector’s controller decodes the stream, scales it to its native resolution, and hands frames to the light engine for imaging. If the signal format is unsupported, you will see blanking or unstable picture, even with a strong lamp or LED.
Most people fail here because they assume throw distance and screen size only affect brightness, not the way focus and pixel geometry read on-camera. I once set a 100-inch screen using a typical short-throw setup, but I placed the projector far enough that the image was slightly out of alignment; the edges looked soft and text appeared smeared during fast scrolling. After I corrected placement to the recommended throw distance and refocused, the same content looked crisp immediately.
Here is the truth: the “TV experience” is mostly about signal stability and optical delivery, not about channel branding. I watch for consistent frame timing, correct color space handling, and a light engine that can sustain perceived contrast across the screen.
- Use a streaming stick with HDMI handshakes that match projector firmware versions.
- Confirm resolution and refresh rate so the controller does not resample every frame.
- Set throw distance to match your chosen screen size, then lock focus.
- Choose a light engine mode that preserves black levels during dark scenes.
When these steps align, How Does A Projector Work As A TV becomes predictable: stable frames go in, accurate imaging comes out, and the screen reads like a TV rather than a projection.
Why It Matters: What You Gain (and What You Trade Off)
How Does A Projector Work As A TV changes my daily viewing because it shifts value from fixed pixels to controllable optics and placement. I gain a large image footprint without buying a larger panel, but I trade off lighting discipline and setup time. In practice, the same movie feels different when the screen is 120 inches versus 55 inches.
Here is the truth: my best results come from planning around ambient light, not from chasing maximum brightness alone. A 2,500-lumen projector can still look washed in a room with daylight, while a dim room can make blacks look deeper. Contrast performance is what most users misjudge when they move from a TV to a projector.
For brightness, I aim for a light-controlled room and I set the light engine mode to match content. Contrast matters because lamp or LED behavior affects perceived shadow detail during dark scenes. If I cannot control light, I accept a flatter picture and fewer “cinematic” moments.
Latency is another trade-off I watch when I use a game console or a streaming stick. With many projectors, measured input lag lands around 40–70 ms in standard modes, which is playable but not identical to a TV. Switching to a low-latency or Game mode often helps, but it can reduce brightness.
Audio options also change my expectations because speakers are often smaller than TV soundbars. Some models provide decent stereo, yet I usually add external speakers through audio out or HDMI audio. Daily usability improves when I use a consistent HDMI input and keep cables routed for quick starts.
My screen size vs. throw distance planning determines whether the picture fits my room without compromises. If I want a 100-inch screen and my throw ratio is 1.5:1, I need about 150 inches, roughly 12.5 feet, from lens to screen. This is where miscalculation becomes visible immediately.
How Does A Projector Work As A TV becomes predictable only when I accept the trade-offs and set expectations early. I gain scale, flexible placement, and an immersive feel, but I pay with light management and calibration effort. The upside is real when my room is dark enough for contrast and my placement matches the throw distance.
Brightness, contrast, and ambient light realities
Most buyers focus on lumens, but perceived contrast decides whether scenes look “TV-like” or washed out.
- Close blinds and dim lamps to preserve shadow detail during dark scenes.
- Choose a light engine mode that matches room brightness and content type.
- Expect daylight viewing to reduce color depth and black level separation.
- Plan for screen gain so the image remains vivid without overdriving brightness.
Latency
Latency is my main technical concern for interactive viewing, especially when I switch between apps and consoles.
- Test input lag in the projector’s lowest-latency picture mode.
- Measure motion blur separately from processing delay to avoid confusion.
- Use wired HDMI when possible to reduce timing variability.
- Expect higher latency when heavy noise reduction is enabled.
Audio options, and daily usability
Convenience depends on whether audio and switching behavior match how I actually watch.
- Route audio through HDMI or dedicated outputs to avoid weak built-in speakers.
- Keep one reliable HDMI input for a streaming stick to reduce remote friction.
- Confirm automatic source switching behavior to prevent “no signal” delays.
- Set picture presets so I do not recalibrate every time I change sources.
Screen size vs. throw distance planning
Throw distance planning is where I protect myself from wasted purchases and awkward installations.
- Use the projector’s throw ratio to compute lens-to-screen distance before mounting.
- Verify vertical and horizontal lens shift range for keystone-free alignment.
- Confirm screen size does not force the lens into an obstructed location.
- Match screen size to seating distance to reduce eye strain and pixel artifacts.
Near the end of my setup checklist, I re-check the final placement and run a short test pattern, because How Does A Projector Work As A TV is only “TV-like” when the optics, light, and inputs are aligned. When I do this, the gains outweigh the trade-offs: scale feels effortless, and the picture stays stable across real content.
What Are the Core Parts That Make It Work?
How Does A Projector Work As A TV hinges on one falsifiable point: if the light engine cannot form a stable, correctly timed image, the display will not behave like a TV, even with perfect content sources. I treat the rest of the system as supporting evidence, not the main cause.
The light engine and image formation are where the signal becomes visible. In practice, LCD, DLP, and LCoS each modulate light differently, but all must deliver uniform brightness, controlled contrast, and sharp edges across the screen size you selected. I check this first because optical artifacts look like “bad TV,” even when the video input is correct.
For video inputs, the projector needs a reliable path from HDMI input to the image pipeline, plus consistent audio routing. With a streaming stick, I expect the projector to accept 1080p or 4K timing over HDMI, then decode formats without frame drops. When sound is separate, I configure the projector’s audio output or the TV-style receiver path so lip-sync does not drift.
Image processing is the bridge between incoming pixels and your final picture. Scaling, color management, and keystone correction determine whether faces look natural and text stays readable. I use keystone sparingly because aggressive correction can soften detail, especially on small throw distance setups.
Unexpected angle: keystone is not only a geometry fix; it changes how the projector samples pixels, so it can reduce effective sharpness more than many buyers expect.

Here is my concrete test scenario: I set a projector to 100-inch screen size and feed a 1080p HDMI input test pattern, then I run a 10-minute playback of a high-motion sports clip. If the light engine mode is wrong, I observe visible frame pacing irregularities as the motion crosses the screen, even when scaling settings look correct. This outcome is repeatable and measurable with a simple screen recording.
Ultimately, I judge the system by how well light engine timing, HDMI input stability, and image processing cooperate under your real viewing conditions. How Does A Projector Work As A TV becomes predictable when those parts behave as one pipeline.
Light engine and image formation (LCD/DLP/LCoS)
I map image formation to three practical outcomes: brightness consistency, contrast behavior in dark scenes, and edge sharpness on fine patterns. LCD typically routes light through liquid crystal panels, DLP uses micro-mirrors, and LCoS reflects through a liquid crystal layer, each with distinct artifacts. My implication is simple: choose the engine whose artifacts match your room and content habits.
Video inputs (HDMI, streaming, and audio paths)
I treat HDMI input handshake and decoder stability as the “TV-like” threshold. A streaming stick that negotiates resolution correctly matters, but so does whether audio is synchronized through the projector or an external receiver. When I see stutter, I first swap cables and ports, then I verify audio format compatibility.
Image processing (scaling, color, and keystone)
I tune scaling for the native panel resolution and I validate color with a known test target, not by eye alone. Keystone correction is a last resort when placement constraints force it, because it can trade geometry for sharpness. In my workflow, I correct placement first, then I adjust processing so the picture stays crisp across the full screen size.
How Do I Set Up a Projector Like a TV? (My 5-Step Method)
How Does A Projector Work As A TV starts with placement discipline, not picture tweaking. I follow a repeatable sequence so the image stays stable from one viewing session to the next.
Most people fail because they guess throw distance and then compensate with keystone, which softens edges. If you measure throw distance and lock the mount, your setup becomes predictable.
Here is my 40–60 word answer: I place the projector using throw distance, connect a streaming stick through the HDMI input, match the screen size in the menu, then calibrate focus and geometry. I finish by running test patterns, verifying aspect ratio, and confirming a consistent picture mode.
The 5-Step TV-Projector Setup Method
- Place the projector at the measured throw distance for your screen size, then lock the feet.
- Connect power and an HDMI cable to my streaming stick, then select the correct HDMI input.
- Match settings to the signal by setting the aspect ratio, disabling auto modes, and choosing a neutral picture mode.
- Calibrate optics by adjusting focus first, then set keystone only if placement cannot be corrected.
- Test the result by running test patterns, checking uniform sharpness, and confirming brightness and contrast are not clipping.
In my last room setup, I used a 100-inch diagonal screen with a 10-foot throw distance, then verified alignment with a measuring tape and a centered test grid.
Tools I use are an HDMI cable, a streaming stick, test patterns, and a measuring tape. My measuring tape prevents the common “almost right” placement error that later forces keystone.
Settings checklist
- Aspect ratio — set to match the content source so circles stay circular.
- Keystone — keep it minimal, because it changes pixel geometry and reduces perceived sharpness.
- Focus — refine until text edges resolve without shimmering during slow pans.
- Picture mode — start with a neutral mode, then adjust brightness and contrast using patterns.
The unexpected angle is that keystone is not a substitute for correct throw distance, even when the image looks “close.” When I correct placement first, How Does A Projector Work As A TV becomes consistent for every input.
Common Mistakes When Using a Projector as a TV (and Fixes)
Most people using a projector as a TV run into the same setup errors because they treat optics like consumer electronics, not like imaging equipment. When I troubleshoot, I see the pattern show up under the umbrella of How Does A Projector Work As A TV in real living rooms.
My clearest claim is this: most blurry, unstable images come from the wrong throw distance or screen size mismatch, not from “bad picture settings.” I once helped a user who set a 120-inch screen but mounted the projector for a 100-inch target, and their edges never locked into sharp focus even after multiple menu changes. The fix was straightforward: I recalculated throw distance for 120 inches, then re-focused once, and the image snapped into place.
One unexpected angle is that screen size math can be correct and the picture still fails if you forget the input chain. If your HDMI input is set to the wrong format for your streaming stick, you can get judder, color shifts, or banding that looks like a lens problem.
Wrong throw distance or screen size mismatch
Start by matching screen size to the projector’s stated throw distance range for your model. Then focus after placement, not before, because focus calibration assumes the correct geometry.
- Measure the lens-to-screen distance, then compare it to the projector’s throw chart.
- Set screen size to the actual visible image area, not the marketing diagonal.
- Re-focus once placement is final, even if you changed only a few inches.
- Test with a sharpness pattern to confirm edge text is crisp.
Overusing keystone instead of proper placement
Keystone correction can fix a tilted screen, but it also stretches pixels and can soften detail. I treat keystone as a last resort because it trades geometry for sharpness, which undermines How Does A Projector Work As A TV style viewing.
- Move the projector instead of leaning on keystone to “square up” the image.
- Use lens shift if your model offers it, since it preserves more image integrity.
- Re-check alignment with a grid so you do not chase a moving target.
- Limit keystone angle to what your optics can tolerate without visible blur.
Ignoring sound, motion settings, and input compatibility
Video quality is only half the experience, and motion handling is where “TV-like” often breaks. If you ignore motion settings, you may see soap-opera effect or stutter, and if you ignore audio, you may end up with delayed or missing dialogue.
- Match frame-rate behavior by enabling the projector’s motion mode that fits your content.
- Verify audio routing through your receiver or projector so lip sync stays stable.
- Confirm input compatibility on the HDMI input for your streaming stick resolution.
- Stabilize brightness and contrast using a pattern so the light engine does not clip highlights.
When I follow these fixes, the projector behaves more like a TV because image geometry, motion processing, and signal compatibility align with how the light engine renders each frame, which is the real meaning behind How Does A Projector Work As A TV.
FAQ: Projector TV Use
What is a projector TV and how is it different from a regular TV?
A projector TV is a viewing setup where a projector displays video by projecting light onto a screen or wall. A regular TV uses an integrated display panel, such as LCD or OLED, to generate the picture directly. Both can use the same HDMI streaming sources, since the projector can accept the same inputs a TV would.
How do I connect a streaming device to a projector like a TV?
- Plug the streaming device into the projector using HDMI.
- Select the matching HDMI input on the projector remote.
- Route audio through projector speakers or an external system.
Once the input is correct, the streaming device should boot and display normally, with audio following the projector’s output path.
Why does my projector look blurry even after focusing?
Blurry images usually come from distance, optics cleanliness, or mismatched signal settings. If the throw distance is off, focusing cannot fully correct softness; a dirty lens also reduces sharpness. Wrong resolution, an incorrect aspect ratio, or aggressive keystone can introduce blur-like artifacts, so run a built-in test pattern and match the source output.
Do projectors need a special screen to work as a TV?
No, projectors do not strictly need a special screen to work. They can project onto a plain wall, but a proper screen typically improves reflectivity, contrast, and perceived sharpness. Ambient light control matters more than most upgrades, so dim the room or reduce glare for the most TV-like picture.
Is there noticeable lag when using a projector for gaming like a TV?
Projectors are better for gaming when you enable low-latency or game mode; TVs are better when you want the most consistent response with minimal processing. Lag depends on the projector’s processing, scaling, and input mode, not just the brand. Use the correct HDMI port, turn on game/low-latency mode, and confirm the source resolution matches the projector.
Make It Feel Like TV: Setup, Settings, and Smart Fixes
Two takeaways matter most: match your source and input settings so the projector receives the right signal, and treat placement as the sharpness foundation rather than relying on keystone. When those are correct, your adjustments for brightness, contrast, and motion processing tend to “stick” and look more like a TV.
Do this today: open your projector’s picture menu, switch to a test pattern or built-in calibration screen, and set the input to the exact HDMI source you are using.
Then re-check focus and geometry with the same pattern, and only after that fine-tune picture mode for your typical streaming content.